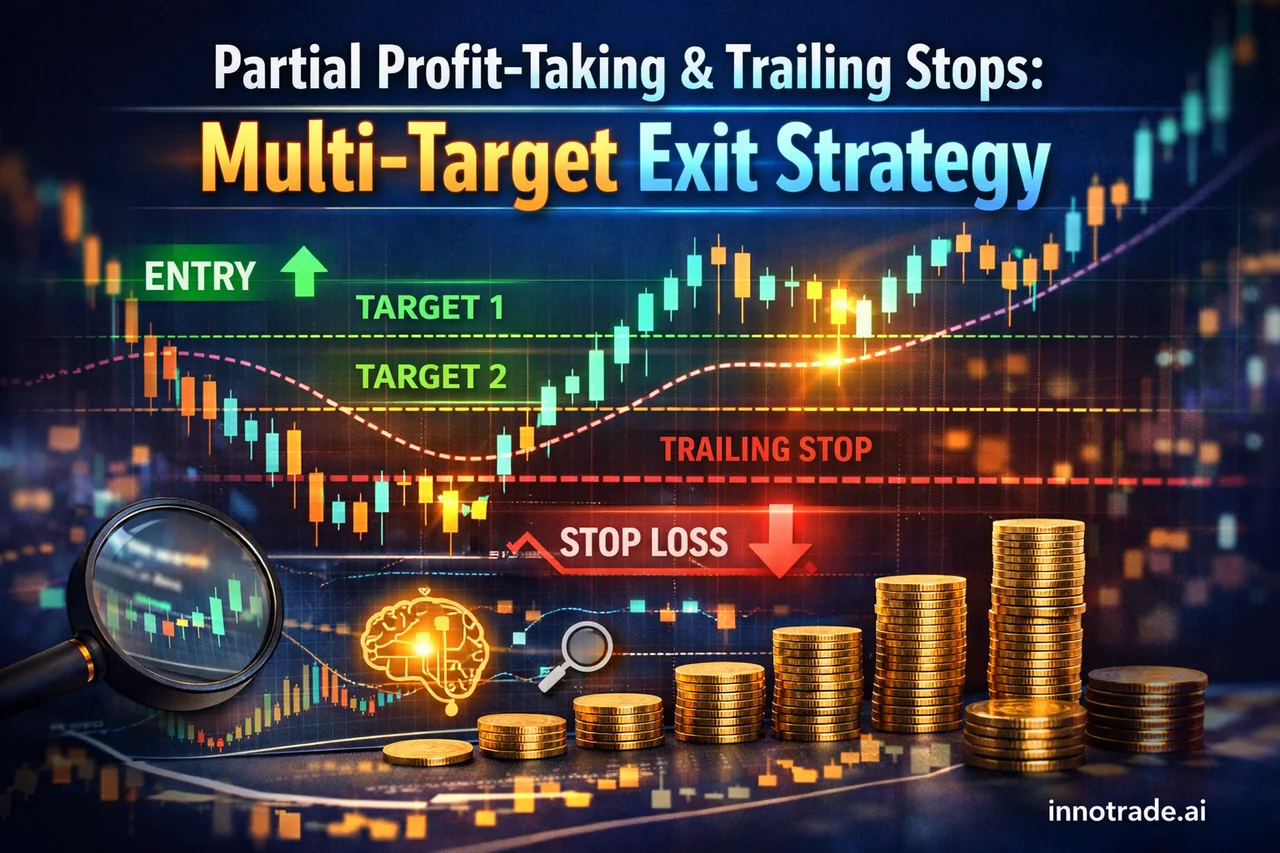
Most traders obsess over finding the perfect entry and barely think about how they'll leave the trade. That's backwards. An entry only determines where you start — your exit plan determines what you actually keep. This guide walks through a practical framework for confirming AI-generated entries with technical confluence, matching stop-loss distance to your strategy, and managing exits across multiple take-profit levels so you're not leaving money on the table or giving it back on a reversal.
Confirming AI Entries With Technical Confluence
An AI-generated entry point is a statistical edge, not a guarantee. The traders who get the most out of AI analysis treat the signal as a starting point and layer in their own confirmation before pulling the trigger.
Three confluence methods work particularly well alongside AI entries:
- Fibonacci retracement entry with AI confirmation: If the AI's suggested entry lands near a 50% or 61.8% retracement of the prior swing, that overlap meaningfully strengthens the case. Use the Fibonacci levels to fine-tune your limit order rather than chasing a market order the instant the signal appears.
- Pairing moving average crossover with AI entries: A fast/slow EMA crossover (e.g., 20/50) in the same direction as the AI's bias adds a trend-following filter. When both agree, you're trading with momentum instead of against it.
- Combining support/resistance zones with AI TP targets: Check whether the AI's TP1, TP2, and TP3 levels line up with visible structure on the chart — prior swing highs, round numbers, or consolidation zones. TP levels that sit just below resistance (on longs) or above support (on shorts) tend to be more realistic than targets placed in open air.
None of these methods require abandoning the AI signal — they simply give you a second opinion before you commit capital.
Matching Stop-Loss Distance to Your Strategy
One of the most common mistakes is using the same stop-loss logic for a 15-minute scalp and a multi-day swing trade. They're different games with different noise tolerances.
Best stop-loss distance for 15-minute scalping: On a lower timeframe, volatility spikes are frequent and often meaningless. For NAS100 scalping entries with tight stops, many traders anchor their stop just beyond the most recent 15-minute swing point rather than using a fixed pip value — this keeps the stop tight enough for a favorable risk-reward ratio while still respecting market structure instead of guessing a number.
ATR multiple stop-loss for swing trades: On swing setups, a stop placed too close gets clipped by normal daily noise. A more robust approach is sizing the stop at 1.5x to 2x the Average True Range (ATR) on the daily or 4-hour chart. For a GBPUSD swing trade stop-loss placement guide, this might mean measuring the 14-period ATR, multiplying it by roughly 1.5, and placing the stop beyond the nearest structural swing low or high — giving the trade room to breathe through intraday pullbacks without inflating risk unnecessarily.
The same logic extends to crypto swing positions. An ETH/USD swing trade target placement strategy should account for the asset's typically wider ATR compared to major forex pairs — a stop that works on GBPUSD will often be far too tight for ETH/USD's volatility profile.
The Three-Target Framework: Why TP1, TP2, and TP3 Exist
Every AI analysis on the platform is structured around an entry, a stop-loss, and three take-profit levels. This isn't arbitrary — it reflects a basic truth about price action: the farther a target sits from entry, the fewer trades actually reach it. TP1 is designed to be realistically achievable in most market conditions, TP2 captures a more extended move, and TP3 is reserved for trades that develop real follow-through. Because each level is measured independently, it's normal and expected for TP1 to be reached more often than TP2, and TP2 more often than TP3 — that decay is the framework working as intended, not a flaw.
Understanding this structure changes how you should think about exits. Rather than treating TP3 as the "real" target and everything else as a consolation prize, each level is a legitimate exit point that serves a different purpose in your overall risk-reward setup for TP1, TP2, TP3 exits.
Scaling Out: Partial Profit-Taking at TP1
A partial profit-taking at TP1 strategy means closing a portion of your position — commonly a third or half — as soon as the first target is reached, while leaving the remainder open for TP2 and TP3. The benefit is twofold: you lock in realized gains early, and you reduce the emotional pressure of watching an open position swing back toward breakeven.
Scaling out of trades at multiple targets also smooths your equity curve. Instead of an all-or-nothing outcome where a trade either hits your single target or stops you out, you collect partial profits along a spectrum of outcomes — a structure that tends to produce steadier results over a large sample of trades.
Trailing the Stop After TP2
Once price reaches TP2, the trade has already proven the thesis correct twice over. This is the point where a trailing stop after TP2 hit strategy becomes valuable: move your stop-loss to breakeven or just beyond TP1, then trail it behind new structure (swing lows on longs, swing highs on shorts) as price pushes toward TP3.
This approach protects the gains you've already banked while still giving the trade room to reach its final target. If momentum stalls and price reverses, the trailed stop closes the remaining position at a profit rather than giving back the full move. If momentum continues, you ride it to TP3 with a stop that's been working in your favor the entire time.
What Recent Data Shows About Multi-Target Exits
Looking at the past week of tracked analyses, the platform's average win rate sat at roughly 58.2% with an average risk-reward ratio near 2.36 — a combination that reflects exactly why scaling out across multiple targets matters. Tuesday, October 6 stood out with a win rate around 85.7% and an average RR near 2.49, a session where trend-following setups aligned cleanly with structure. Monday, October 5 posted the strongest EV score of the week, suggesting conditions where the AI's calls lined up unusually well with how price actually moved. By contrast, Thursday, October 8 was the weakest day of the period, with win rate dropping to 25.0% and EV score slipping to -0.18 — a reminder that even a sound exit framework can't offset a genuinely difficult trading session, and that risk management on the losing days matters as much as capturing the winning ones.
Across all tracked trades, the platform's all-time win rate has held near 53.4% with an average RR around 2.04 — figures that underline why scaling out and trailing stops matter: a strategy with a sub-60% win rate can still be solidly profitable when risk-reward is managed properly across multiple exit points. Over the past two weeks, pairs like USDCAD and AUDJPY have shown a high volume of tracked setups with consistent TP1 follow-through, though follow-through to TP3 was comparatively rarer — a textbook illustration of the natural decay across target levels.
Putting It Into Practice
A workable exit routine looks like this: confirm the AI entry with a Fibonacci level, moving average alignment, or a nearby support/resistance zone; size your stop-loss to match your timeframe — tight and structure-based for scalps, ATR-based for swings; take partial profits at TP1; trail your stop once TP2 is hit; and let the remainder run toward TP3 with a stop that's already protecting your gains.
You can track how this plays out on your own positions using Trade Tracking, which breaks down performance by strategy and target level over time. For a transparent look at how top-performing setups have played out recently, the Live Trades Scoreboard shows verified results from the platform's best analyses over the past two weeks — purely as a record of past performance, not a tool to act on. And if you're still building the foundation for concepts like ATR, risk-reward, and trailing stops, the Trading Academy covers these fundamentals in more depth.
Whatever timeframe you trade, the lesson is the same: a good entry is only half the trade. How you scale out and manage your stop afterward is what determines whether that edge actually shows up in your account.
Analytical software only. We do not handle funds, make investments, or provide financial advice. Trading involves substantial risk and past performance does not guarantee future results. Always conduct your own research and consider your risk tolerance before making trading decisions.