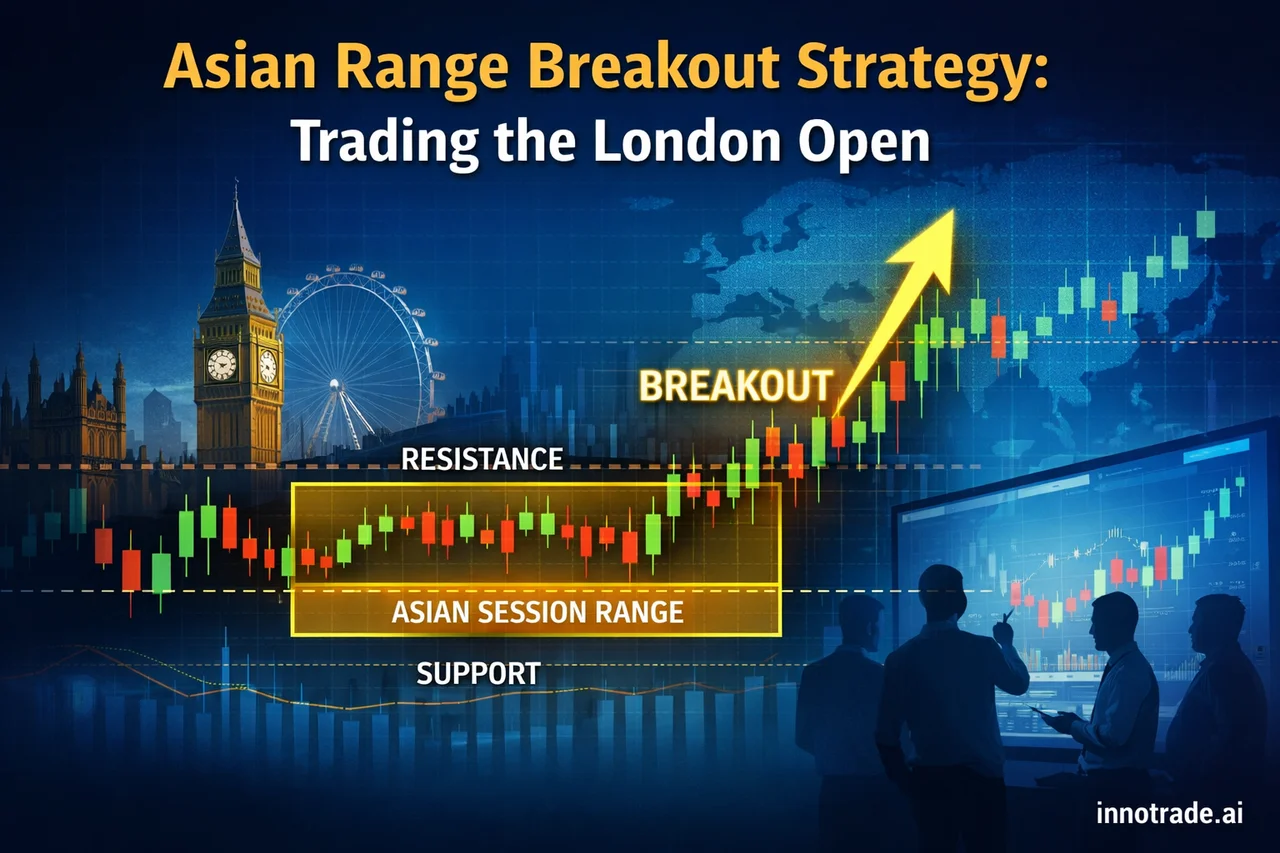
The hours before London opens are quiet for a reason — Asian session liquidity is thin, ranges are tight, and price often coils into a narrow box before the first wave of European volume arrives. That narrow box is one of the most reliable structures in forex trading. Understanding how to build an opening range breakout around it, and knowing exactly when to trust or fade the move, is a skill that separates traders who chase candles from traders who plan entries in advance.
This guide breaks down the mechanics of the Asian session breakout into the London open, how to place stops using wick rejection logic rather than arbitrary pip counts, and how to know when a breakout deserves a fade instead of a follow. We'll also look at how AI-generated analysis on innotrade.ai can sharpen the timing of these setups using structured entry, TP1/TP2/TP3, and stop-loss data.
Understanding the Asian Range and Why It Matters
The Asian session (roughly Tokyo to early Sydney hours) tends to produce compressed, low-volatility ranges on major pairs like USDCAD, EURJPY, and AUDJPY. This isn't randomness — it reflects genuinely lower participation before European desks open. Mark the high and low of that range once it has held for a few hours, and you have a simple but powerful reference box.
The logic of an asian session breakout london entry strategy is straightforward: London volume typically resolves the compression in one direction, and the first genuine break of the range high or low — especially one that coincides with a London-session catalyst — often carries follow-through. This is different from a random midday breakout because the range itself was built on unusually thin liquidity, meaning the eventual break tends to be a real repricing rather than noise.
Building the Opening Range Breakout Entry
For opening range breakout scalp entry rules, the cleanest approach is to wait for a candle to close beyond the range boundary on your entry timeframe (5-minute or 15-minute charts work well for scalping), rather than entering on the first wick that pokes through. A close beyond the level filters out a large share of false breaks that occur in the first few minutes of London liquidity arriving.
- Entry: On confirmed close beyond the Asian range high/low, enter in the direction of the break.
- Confirmation: Look for rising volume or momentum candles accompanying the break — a break on a shrinking candle body is a warning sign.
- Timing: The first 60–90 minutes of London tend to produce the highest-quality breakouts; late-session breaks are more prone to failure.
Traders using the platform's AI analysis tool often use the generated entry point as a secondary confirmation layer on top of this structure — if the AI-suggested entry aligns with a confirmed range break, it adds conviction to a manual setup rather than replacing the read entirely.
Placing Stops with Wick Rejection Logic
One of the most common mistakes in breakout trading is placing a stop-loss at a round number or an arbitrary pip distance. A more disciplined approach uses candlestick wick rejection stop-loss placement: identify the most recent candle wick that rejected back into the range before the breakout confirmed, and place your stop just beyond that wick's extreme, not beyond the range boundary itself.
This matters because the range boundary is where the crowd's stops cluster — placing yours slightly further, beyond the last rejection wick, reduces the odds of being stopped out by a brief retest before the real move continues. It also naturally produces a more favorable risk-reward ratio, since the wick extreme is usually tighter than a full range-width stop.
Scaling Out Through TP1, TP2, and TP3
Once in a confirmed breakout, the exit plan matters as much as the entry. A structured approach — taking partial profit at TP1, trailing the remainder toward TP2, and letting a smaller runner target TP3 — lets a trade capture both the initial momentum burst and any extended trend that follows. TP1 exists to lock in gains quickly since the first leg of a session breakout often moves fastest; TP2 and TP3 exist to capture extension if the London session develops real directional conviction. It's normal, and expected, for fewer trades to reach TP3 than TP1 — that's simply the nature of markets giving back momentum as a move matures, not a flaw in the setup.
In genuinely range bound market scalping tp1 exit timing becomes especially important: if the broader session isn't trending (no clear catalyst, quiet economic calendar), taking full profit at TP1 rather than holding for TP2/TP3 is often the better decision, since range-bound conditions tend to snap back rather than extend.
When the Breakout Fails: The Fade Setup
Not every range break holds. A failed breakout fade reversal trade setup occurs when price closes beyond the range, fails to attract follow-through volume, and closes back inside the range within a candle or two. This is a legitimate, separate trade — not a failure of the original plan. The fade entry triggers on the re-entry candle closing back inside the range, with a stop placed just beyond the failed breakout's extreme (using the same wick-rejection logic described above, applied to the false break itself).
A failed breakout isn't wasted information — it often tells you more about where liquidity actually sits than the breakout itself would have.
How AI Analysis Sharpens Session Timing
Recent tracked data on the platform illustrates why timing and instrument selection matter as much as the pattern itself. Averaged across the past week of tracked trades, the platform's win rate sat at roughly 57.8% with an average risk-reward ratio near 2.46 — a healthy baseline for a mixed set of scalp, day, and swing setups. The strongest session of that week landed on Tuesday, September 1, where a strong win rate combined with an elevated average RR pushed EV score notably higher than any other day, while the softest stretch came midweek on Wednesday, August 26, when both win rate and RR compressed together, dragging EV lower — a reminder that low-conviction, choppier sessions (often coinciding with a light economic calendar) tend to produce weaker breakout follow-through generally.
Over the past two weeks, XAUUSD has drawn the highest volume of tracked session-style setups on the platform, with consistent TP1 follow-through and a solid share of trades extending to TP2 and TP3 — useful confirmation that gold's session ranges have offered real, tradable structure recently. USDCAD setups have also been active, which lines up with the Bank of Canada's rate decisions and press conferences on the economic calendar — high-importance CAD events are exactly the kind of catalyst that can turn an ordinary Asian range into a genuine directional break during London hours. Across all tracked trades on the platform historically, the all-time win rate has held near 53.8% with an average RR around 2.03, giving newer traders a broad benchmark for what a data-driven, disciplined approach can realistically sustain over time.
Matching the Strategy to Your Trading Style
Scalpers can run this framework on 5-minute charts, taking quick TP1 exits and closing out before the London-New York overlap introduces new volatility. Day traders can hold the same setup through TP2, using the AI-generated stop-loss as a hard risk boundary while the session develops. Swing traders can use a strong London breakout as the first leg of a multi-day thesis, holding a smaller position toward TP3 if the move aligns with a broader trend on higher timeframes. For real-time confirmation during the London open specifically, ScalpHunter's confidence-rated alerts can help flag when a breakout is forming with unusual conviction.
Key Takeaway
The Asian range breakout into London is a repeatable, rules-based setup precisely because it's built on a genuine liquidity transition, not a subjective pattern. Confirm with a closed candle, place stops beyond the last rejection wick rather than the range itself, respect TP1 in choppier conditions, and treat failed breakouts as their own tradeable setup rather than a loss to shrug off. Reviewing your own session trades over time in Trade Tracking — and comparing your win rate and RR against the platform's transparently published Live Trades Scoreboard results — is one of the fastest ways to refine this strategy to your own risk tolerance. For traders newer to session-based structure, the Trading Academy covers the underlying concepts in more depth.
Analytical software only. We do not handle funds, make investments, or provide financial advice. Trading involves substantial risk and past performance does not guarantee future results. Always conduct your own research and consider your risk tolerance before making trading decisions.