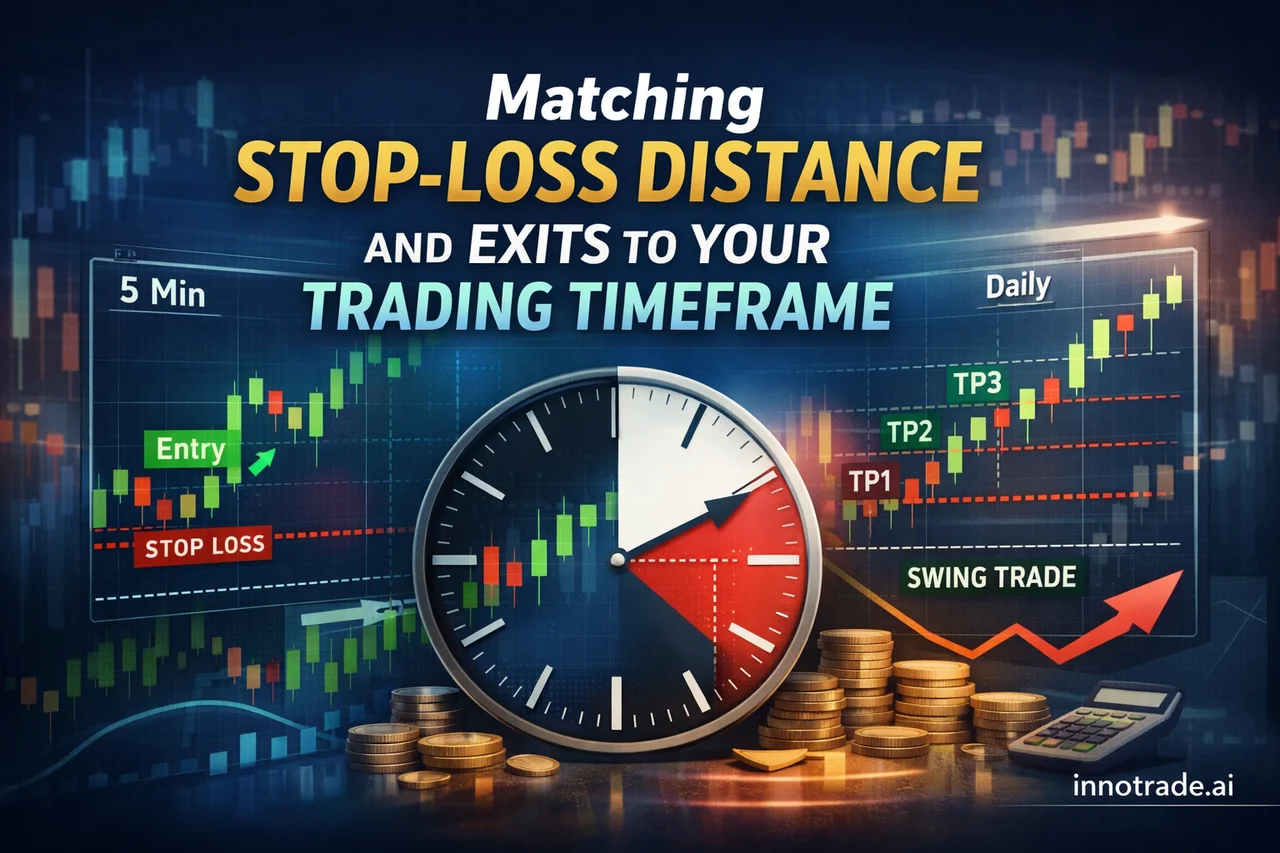
One of the most common mistakes retail traders make isn't picking the wrong direction — it's picking the wrong stop-loss distance for the timeframe they're trading. A 5-minute scalper using a swing-sized stop will get chopped up by normal noise. A swing trader using a scalp-sized stop will get stopped out before the real move even starts. This guide breaks down how to align stop-loss placement, lot sizing, and TP1/TP2/TP3 exit structure with the strategy you're actually running — scalping, day trading, or swing trading.
Why Stop-Loss Distance Should Match Your Trading Timeframe
Every timeframe has its own "noise floor" — the normal back-and-forth price movement that has nothing to do with your trade thesis. Your stop-loss needs to sit outside that noise, but not so far outside it that your risk-reward ratio collapses. This is why an AI-generated analysis on /analysis will typically place a much tighter stop on a 5-minute scalp setup than it will on a daily-chart swing idea for the same instrument — the structure being protected is completely different.
The rule of thumb: stop-loss distance should be a function of the timeframe's average range, not a fixed pip or dollar amount you're comfortable with emotionally. This is one of the most overlooked pieces of trade construction, and it's exactly the kind of detail that separates a well-structured entry from a guess.
The 5-Minute Scalping Strategy: Tight Stops, AI Confirmation, Session Timing
A 5-minute scalping strategy with AI confirmation depends on speed and precision. Stops need to sit just beyond the nearest micro-structure level — often only a handful of pips or a few dollars away depending on the instrument — because the whole trade is designed to resolve quickly. This is also where session-based scalping strategy selection matters: scalping thin, low-liquidity hours produces erratic fills and unreliable stop placement, while scalping during London or New York session overlap gives tighter spreads and more predictable short-term structure.
Tools like ScalpHunter are built for exactly this environment — real-time opportunity signals with a confidence rating from 1/5 to 5/5, so scalpers can filter for higher-confidence setups during active sessions rather than trading every flicker on the chart. Because scalps target small, fast moves, TP1 is usually the primary objective, with TP2 treated as a bonus extension rather than the core plan.
EUR/USD Day Trading: Structuring a TP1/TP2 Exit Plan
Day trading EUR/USD sits between scalping and swing trading in both stop distance and holding time. A typical AI-generated day trade analysis will place the stop-loss beyond the session's opening range or a recent intraday swing point — wide enough to survive normal intraday pullbacks, tight enough to keep the risk-reward ratio meaningful.
For an EUR/USD day trade, a practical exit plan looks like this: take partial profit at TP1 to lock in gains and reduce risk to breakeven, let a portion ride toward TP2 to capture the bulk of the intraday trend, and only hold a small remainder toward TP3 if momentum and volume support continuation. This staged approach protects capital on the days the move stalls early, while still capturing the bigger trend days. Recent macro data — including Flash Manufacturing and Services PMI releases affecting both USD and EUR — is a good reminder of why day traders should always check the economic calendar before holding through a scheduled release.
NAS100 Day Trading: Stop-Loss Placement for Index Volatility
Index instruments like NAS100 move in larger absolute point swings than most forex pairs, which means stop-loss placement needs to be scaled accordingly — not tighter out of habit, but proportionate to the index's own volatility profile. Placing a forex-sized stop on a NAS100 day trade is one of the fastest ways to get stopped out on completely normal price action. AI analysis on index instruments typically anchors the stop beyond a recent volatility swing or session high/low rather than an arbitrary point value, which keeps the risk-reward ratio intact even though the raw stop distance looks larger on the chart.
Swing Trading XAU/USD and BTC/USD: Wider Stops, Higher-Timeframe TP3 Targets
Swing trading XAU/USD or BTC/USD with AI-generated targets requires a completely different mindset. Stops are placed beyond higher-timeframe structure — often a daily or 4-hour swing level — because the trade needs room to breathe through multiple sessions of normal volatility. Setting TP3 targets on these higher-timeframe swings means identifying the next major structural level (a prior high, a Fibonacci extension, a significant liquidity zone) rather than a quick intraday reaction point.
A practical BTC/USD swing framework: entry near a confirmed structural level, stop-loss beyond the invalidation point of that structure on the daily chart, and TP1/TP2/TP3 spaced out across meaningfully different price zones rather than clustered close together the way a scalp's targets would be. The wider stop and wider target spacing is intentional — swing trades are built to survive noise that would stop out a day trade instantly.
Worth noting from recent tracked data: XAU/USD setups over the past two weeks have leaned heavily toward stop-loss outcomes rather than clean TP progression, a reminder that even a sound swing framework needs the underlying trend conditions to cooperate — gold has been a genuinely difficult instrument to trade recently. By contrast, BTC/USD and AUDJPY setups over the same window showed more consistent follow-through toward TP1 and TP2, underlining why instrument selection matters as much as the framework itself.
Adjusting Lot Size Across TP1, TP2, TP3 Exits
Scaling out at TP1, TP2, and TP3 only works if lot sizing is planned in advance, not decided in the moment. A common structure is splitting a position into three roughly equal parts: the first closes at TP1 to bank early profit and de-risk the trade, the second closes at TP2 to capture the core of the expected move, and the final portion is left to run toward TP3 with a trailing or breakeven stop. Conceptually, each level represents a decreasing probability but increasing reward — TP1 is the level price reaches most often, TP2 requires the move to extend further, and TP3 demands the strongest continuation. That natural decay is exactly why scaling out, rather than going all-in on one target, tends to smooth out equity curves across both day trades and swings.
What This Week's Data Tells Us About Timeframe-Matched Risk
Looking at the past week of tracked analyses, average risk-reward ratios ranged from roughly 1.5 up to nearly 3.9 depending on the day and strategy mix, with the week's overall win rate landing around 47%. The strongest session of the week, September 19, posted the highest expected-value score of the period — a session where the setups lined up unusually well across the board. The weakest session, September 18, saw win rate drop to 16.7% with an average RR of 2.07, producing a negative EV score for the day — a useful reminder that even a well-matched stop-loss and exit plan won't win every session, which is exactly why position sizing and risk management matter more than any single trade outcome.
Across all tracked trades on the platform, the long-run all-time win rate sits at 53.6% with an average RR of 2.03 — a helpful backdrop showing that the timeframe-matched approach described here isn't theoretical, it's reflected in the platform's ongoing tracked performance. You can see the best-performing recent setups, ranked by achieved risk-reward, on the Live Trades Scoreboard — a transparent, read-only record of past results, not a tool to trade from.
Putting It Together: A Framework for Every Timeframe
The core principle is simple: stop-loss distance, lot sizing, and TP structure should all scale together with your holding period. Scalpers need tight stops, session awareness, and a TP1-first mentality. Day traders need intraday-structure stops and a staged TP1/TP2 exit plan. Swing traders need higher-timeframe stops and patience for TP3 to develop. AI-generated analysis on the platform builds each of these components into the trade structure automatically, but understanding why the stop and targets are placed where they are lets you adapt position sizing and management to your own risk tolerance rather than following signals blindly.
If you're new to structuring trades this way, the Trading Academy covers the fundamentals of risk management and position sizing in more depth, and you can track how your own trades perform against these frameworks over time using Trade Tracking. For questions about how entries, stops, and TP levels are generated, the FAQ is a good starting point before exploring the subscription tiers and free trial.
Analytical software only. We do not handle funds, make investments, or provide financial advice. Trading involves substantial risk and past performance does not guarantee future results. Always conduct your own research and consider your risk tolerance before making trading decisions.