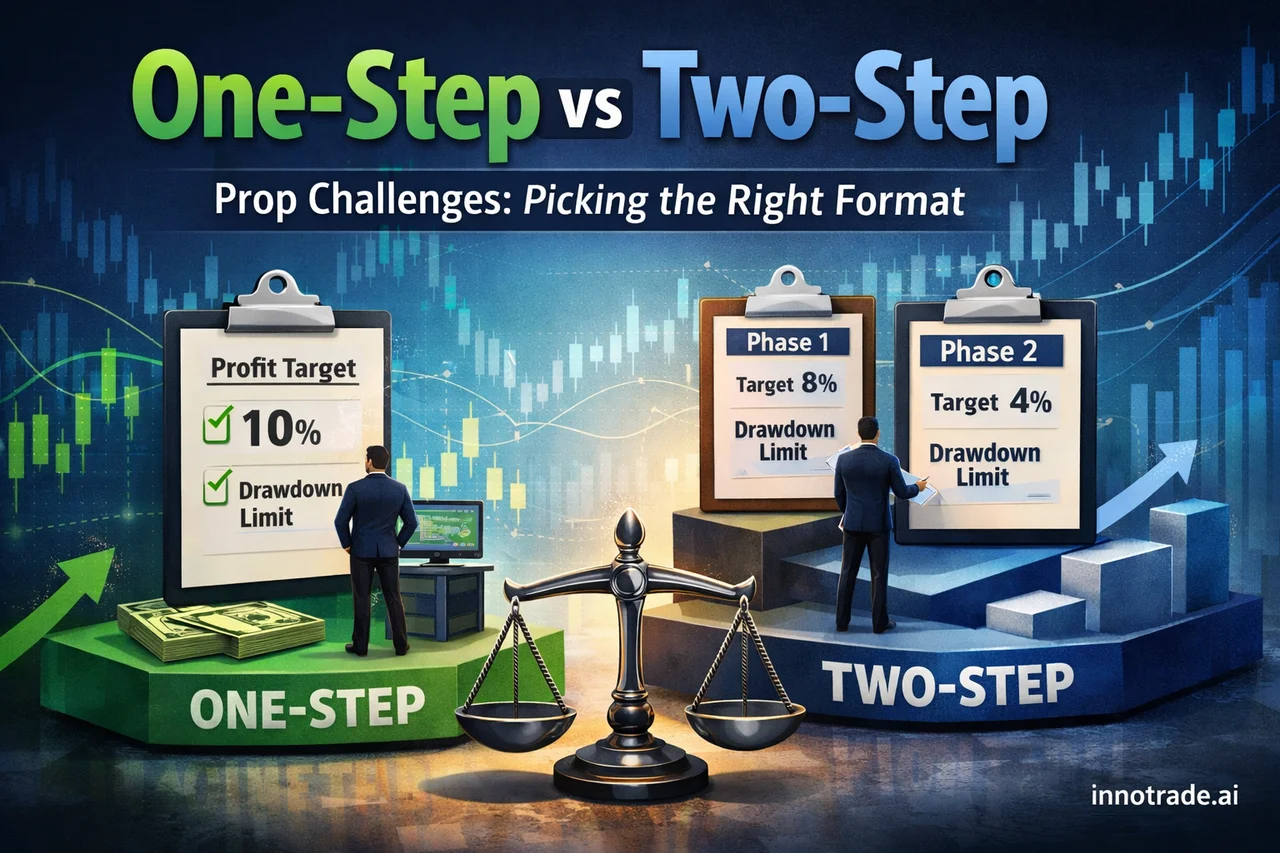
Prop firm challenges now come in two dominant flavors: the traditional two-step evaluation and the increasingly popular one-step model. Marketing pages on both sides tend to oversell their format as the "smarter" path to funding. The honest answer is less exciting but more useful: the right format depends on your trading style, your patience for drawdown pressure, and how consistently you can execute a plan — not on which one sounds easier.
What Actually Separates One-Step from Two-Step
A two-step challenge typically splits the evaluation into a Phase 1 profit target (often 8-10%) and a smaller Phase 2 target (often 4-5%), each with its own time window and drawdown limits. The idea is to prove profitability twice before real capital is at stake. A one-step challenge collapses this into a single evaluation phase with one profit target, but firms usually compensate by tightening the daily loss limit, the maximum drawdown, or both.
In practice, one-step formats reward traders who can hit a target quickly without needing a "reset" mentality between phases. Two-step formats reward traders who value a second confirmation phase to shake out overconfidence from Phase 1. Neither is objectively superior — they simply demand different risk cadences.
Why Consistency, Not Speed, Decides the Outcome
Whichever format you choose, the underlying requirement is identical: consistent, repeatable execution across a string of trades, not one or two lucky wins. This is where a lot of challenge attempts fail — traders chase the profit target with oversized positions after a rough week, and a single loss finishes the account. Data-driven analysis, like the outputs generated on our Analysis page, is designed precisely to reduce this kind of emotional escalation by giving traders a defined entry, stop-loss, and multiple take-profit levels before the trade is ever opened.
Looking at our tracked trade data over the past week gives a useful illustration of what "consistency" actually looks like in practice, rather than as an abstract concept. Averaged across the seven days we track, win rate sat around 45.0% with an average risk-reward ratio near 2.01 — figures that swing day-to-day but hold up reasonably well when aggregated. The strongest session of the period, Sunday, July 26, posted a 54.5% win rate at a 2.83 average RR, while the weakest, Saturday, July 25, came in at a 22.2% win rate and a 1.21 RR. That spread is normal. No trading system, human or AI-assisted, produces a flat line of identical days — what matters is whether the average across the week stays net-positive after accounting for both win rate and reward-to-risk.
Why EV Score Matters More Than Win Rate Alone
A common mistake among challenge traders is fixating on win rate and ignoring reward-to-risk. A 60% win rate with a 1:1 RR can lose money net of costs, while a 40% win rate with a 1:2.5 RR can be strongly profitable. This is why we rank daily performance by expected value (EV) score rather than win rate in isolation — it's the only metric that reflects both variables together. Wednesday, July 22, for example, posted a solid win rate of 53.8% alongside a 2.65 RR, giving it one of the strongest EV scores of the week, ahead of days with a nominally similar win rate but weaker payoff structure.
Matching Take-Profit Structure to Challenge Format
Multi-target exits — TP1, TP2, TP3 — serve a different purpose depending on which challenge format you're running. In a one-step challenge with a tighter drawdown ceiling, traders often lean on TP1 as the primary exit, banking partial profit early and trailing the remainder conservatively to protect the single evaluation phase from a reversal. In a two-step challenge, where Phase 1's target is usually larger, letting more of the position ride toward TP2 or TP3 can accelerate progress toward the profit goal without materially increasing per-trade risk, since the stop-loss distance hasn't changed. As a general rule, win rates decay naturally from TP1 through TP3 simply because each successive level requires the market to travel further in your favor — this is expected and not a sign of a flawed setup. The key decision isn't which level is "best," it's which exit strategy matches the drawdown tolerance of the specific challenge you're running.
Symbols Carrying Recent Trade Volume
Over the past two weeks, gold (XAUUSD) has carried a high volume of tracked setups on the platform, with consistent TP1 follow-through even though not every setup progressed to TP3 — a pattern that's typical for a volatile, news-sensitive instrument. BTCUSD showed a similarly strong rate of reaching initial targets, with a meaningful share of trades progressing all the way to TP3, while AUDJPY and XRPUSD saw fewer setups but still delivered solid follow-through relative to their volume. None of this guarantees future results, but it does illustrate that instrument selection interacts with challenge format: a trader running a tight one-step drawdown limit may prefer lower-volatility pairs, while a two-step trader with more room to breathe can better absorb the wider swings of crypto or metals.
Background Context: The All-Time Picture
Zooming out from any single week, the platform's all-time win rate across all tracked trades has held at 54.1%, with an average risk-reward ratio of 2.00. These figures are a useful sanity check — they show the weekly numbers above aren't outliers in either direction — but they shouldn't be treated as a promise of what next week will look like. Verified statistics are also synced with Myfxbook for third-party confirmation, and our Live Trades Scoreboard displays the best-performing analyses from across all users over the past 14 days as a transparent record of past results.
Practical Takeaway
Before committing to a one-step or two-step challenge, be honest about your own drawdown discipline. If you tend to overtrade after a red day, the tighter format of a one-step evaluation may punish you faster than a two-step's built-in second chance. If you know you can sit patiently through a Phase 1 target without forcing trades, the one-step format's speed may suit you better. Whichever you choose, lean on a documented process — defined entries, defined stops, and a clear multi-target exit plan — rather than gut feeling under pressure. Traders new to this process can review the fundamentals in our Trading Academy, track their own evolving statistics on Trade Tracking, and check common questions about challenge-compatible usage in our FAQ before starting a paid evaluation with a 7-day free trial via Pricing.
Analytical software only. We do not handle funds, make investments, or provide financial advice. Trading involves substantial risk and past performance does not guarantee future results. Always conduct your own research and consider your risk tolerance before making trading decisions.