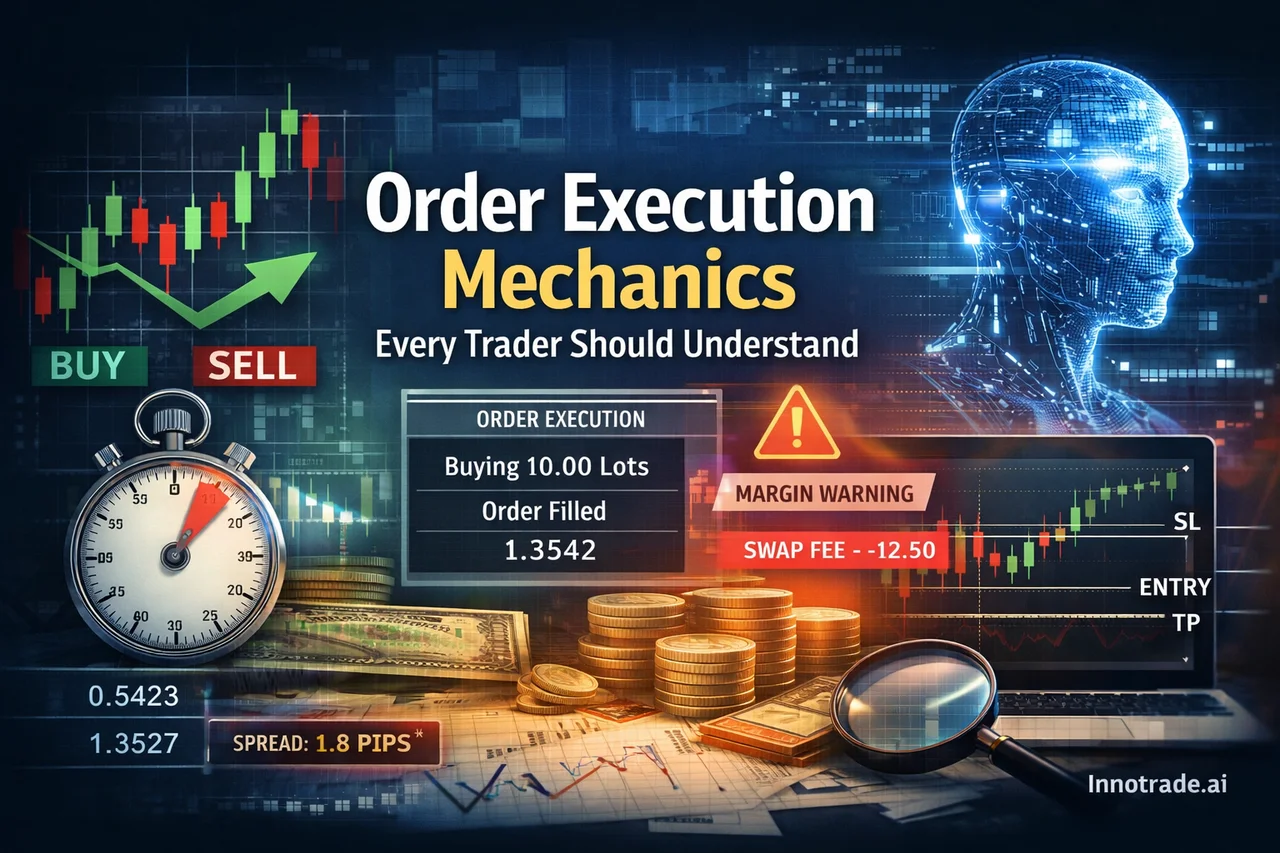
Most traders spend the bulk of their time studying setups — where to enter, where to place a stop, where to take profit. Far fewer spend time understanding what happens in the milliseconds and hours after that decision is made. Execution mechanics are the plumbing of trading: invisible when everything works, and suddenly very visible when a trade fills at a worse price than expected, a margin warning pops up, or a swap fee eats into an overnight position. Whether you're acting on your own analysis or on an AI-generated setup from Analysis, the quality of your execution can meaningfully shift your real-world results away from the theoretical entry, TP, and SL on the chart.
Pips, Spreads, and the Hidden Markup
A pip is simply the smallest standard price movement in a currency pair — typically the fourth decimal place for most FX pairs, or the second for JPY pairs. The spread is the gap between the bid (sell) and ask (buy) price, and it's how many brokers earn revenue without charging a separate commission. A raw interbank spread might be tight, but retail brokers frequently apply a small markup on top — this is normal and disclosed, but it's worth checking your broker's execution model so you know exactly what you're paying per trade.
Spreads are not static. They widen during low-liquidity windows — the tail end of the New York session, early Asian hours, or around scheduled announcements like FOMC member speeches or an ECB President Lagarde address. A pair that normally trades at a tight spread can briefly double or triple that cost right as volatility spikes, which is exactly when many traders are trying to enter.
Market Execution vs Pending Orders
A market order fills immediately at the best available current price — useful when you need to be in the trade right now, but it offers no control over the exact fill price during fast-moving conditions. A pending order sits inactive until price reaches a level you define, and comes in two flavors that are easy to confuse:
- Limit orders execute at your specified price or better — a buy limit sits below the current market, a sell limit sits above it. These are typically used to enter on a pullback or retracement.
- Stop orders trigger once price reaches your level, often used to catch a breakout continuation — a buy stop sits above the market, a sell stop sits below it.
When an AI-generated analysis provides a specific entry price rather than "enter now," it's usually built around one of these two order types rather than a chase-the-market fill. Understanding which type matches the setup's logic helps you place the order correctly instead of manually eyeballing an entry.
A Quick Word on Liquidity Depth
Retail traders don't see a full order book the way institutional desks do, but the underlying concept still matters: at any given moment there's a finite amount of volume willing to transact at the best price. During thin liquidity — weekends, holidays, or the handoff between trading sessions — that depth shrinks, which is part of why spreads widen and fills become less predictable at exactly those hours.
What Slippage Tolerance Actually Means
Slippage is the difference between the price you expected and the price you actually got filled at. It happens most often around high-impact news — a scheduled release, a surprise central bank comment, or a sudden data print — when price can gap through several levels before the next quote arrives. Most trading platforms let you set a slippage tolerance (sometimes called maximum deviation), which rejects a fill if the price has moved beyond your acceptable range rather than filling you at a dramatically worse level. It's a small setting that's easy to ignore until the one time it saves you from an ugly fill during a volatile print.
Trailing Stop Orders Explained
A trailing stop is an order type that automatically follows price at a fixed distance once a trade moves in your favor, locking in progress without requiring you to manually adjust the stop level every few minutes. It's a mechanical tool, distinct from the broader discretionary practice of manually shifting a stop to breakeven after a level is hit — the trailing stop does the following automatically, on rails, based on the distance you set.
Equity, Balance, and Margin Level Warnings
Two numbers confuse newer traders constantly: balance is the value of your account from closed trades only, while equity is balance adjusted in real time for the floating profit or loss of any open positions. Margin level, usually expressed as a percentage, compares your equity to the margin currently in use — when that percentage drops toward a broker's warning or stop-out threshold, it's a signal that open exposure is getting large relative to available capital. Watching equity rather than balance alone gives a far more honest picture of real-time account health, which is part of why a dedicated dashboard like Trade Tracking is useful for seeing floating performance across multiple open analyses rather than only closed results.
Hedging vs Netting Accounts
A netting account combines all positions on a single symbol into one net exposure — if you're long and then open a short on the same pair, they offset rather than existing side by side. A hedging account allows simultaneous opposing positions on the same instrument to sit independently. This distinction matters if you're tracking several AI-generated setups on the same pair from different strategies — knowing your account type tells you whether those positions will offset automatically or stack as separate tickets.
Reading Trade Confirmation Tickets
Every filled order generates a confirmation ticket with an order ID, execution price, lot size, and timestamp. Getting comfortable reading these matters for one simple reason: it lets you verify whether your actual fill matched the intended entry from your analysis, or whether spread and slippage pulled it away from the plan. Reconciling ticket data against your own tracked setups is exactly the kind of habit that separates traders who understand their real edge from those who are guessing at it.
A Brief Note on Rollover
Positions held open past a broker's daily cutoff accrue or pay overnight financing, commonly called rollover or swap. It's a small line item on a single day trade but compounds meaningfully across swing positions held for several days — worth factoring into position planning any time a setup is likely to stay open overnight.
Why This Still Matters With AI-Assisted Analysis
None of this replaces the value of a well-structured entry, stop, and multi-level take-profit plan. Across the past week, the platform's tracked analyses produced an aggregate win rate near 62.6% with an average risk-reward ratio close to 2.78 — a solid, unremarkable week rather than a cherry-picked one. The strongest session of the period, Sunday, September 27, posted the week's highest EV score at 2.67, a day where setups across several instruments lined up unusually well. The softest stretch came two days later on Saturday, September 26, with a win rate of 50.0% and an EV score of just 0.07 — a useful reminder that even a profitable week includes weaker days.
Trade structures built around TP1, TP2, and TP3 exist precisely because markets rarely move cleanly to a single target — scaling exits across levels lets a trader bank partial gains early while giving the position room to run further if momentum continues, which is why the hit rate naturally decays from the first level to the last. None of that structure means anything, though, if the underlying order fills at a materially different price than planned, or if a margin warning forces an early close. Execution mechanics are the difference between a good analysis and a good result.
For traders still building this foundation, the Trading Academy covers order types and risk basics in more depth, and the FAQ answers many of the platform-specific questions around how AI analyses translate into tradeable entries.
Analytical software only. We do not handle funds, make investments, or provide financial advice. Trading involves substantial risk and past performance does not guarantee future results. Always conduct your own research and consider your risk tolerance before making trading decisions.