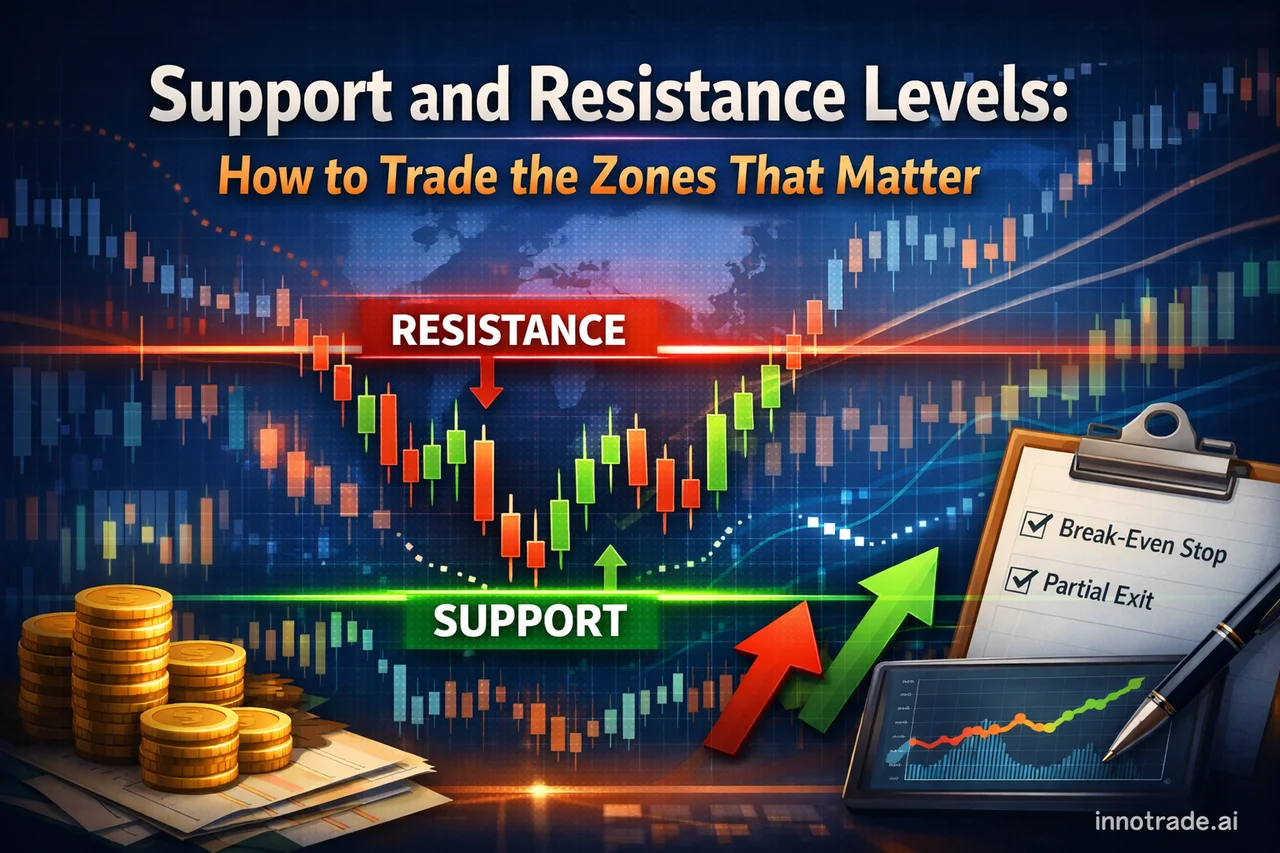
Every trader, regardless of experience level, eventually learns to see the market through the lens of support and resistance. These are the price zones where buying or selling pressure has historically clustered — and where it's statistically likely to cluster again. Understanding how to identify these levels, and more importantly how to act on them, is one of the most transferable skills in trading.
This article breaks down what support and resistance actually represent, how to combine them with practical trade management tools like break-even stops and partial exits, and how these concepts show up in real tracked performance data.
What Support and Resistance Actually Represent
Support is a price area where demand has historically been strong enough to halt or reverse a decline. Resistance is the opposite — a zone where selling pressure has repeatedly capped advances. These aren't magic lines; they're a visual record of where large numbers of market participants previously agreed a price was either "cheap enough" to buy or "expensive enough" to sell.
The more times a level is tested without breaking, the more significance traders assign to it — though this also means that when it does eventually break, the move that follows tends to be sharper, as stop orders clustered around the level get triggered in sequence.
Why These Zones Matter for Entries and Exits
Support and resistance give structure to otherwise noisy price action. They help answer three practical questions every trader needs to solve before placing a trade:
- Where do I enter? Ideally near a level that has previously reacted, rather than chasing price mid-range.
- Where does my stop-loss go? Typically just beyond the level, allowing room for normal wicks and noise without invalidating the setup on a minor retest.
- Where do I take profit? The next meaningful level in the direction of the trade is a logical target — which is exactly how staggered TP1/TP2/TP3 structures are built.
Combining Levels with Smarter Trade Management
Identifying a level is only half the job. What you do once price starts moving in your favor determines whether a good technical read turns into a well-managed trade.
Break-Even Stop Triggers
A break-even stop trigger is a rule — manual or automated — that moves your stop-loss to your entry price once the trade has moved a predefined distance in your favor, often once price clears the first resistance or support test beyond entry. This doesn't guarantee a winning trade, but it removes the risk of a small winner turning into a full loss if price reverses sharply after tapping a level and failing to break it.
Partial Position Closing at Key Levels
Rather than treating a trade as all-or-nothing, many traders use partial position closing — booking a portion of the position at the first resistance or support target, then letting the remainder run toward a further objective with a trailed or break-even stop. This is conceptually the same logic behind scaling out at TP1 before letting a runner target TP2 or TP3: you bank certainty early and let the trade's edge play out on the remaining size.
Watch the Spread Around News
One practical detail traders often overlook: spread widening during news releases can distort exactly where a support or resistance level appears to be tested. A brief spike through a level on a widened spread, driven purely by liquidity thinning around a data release, isn't the same as a genuine break on normal market depth. Waiting for the spread to normalize before trusting a breakout at a key level is a small habit that prevents a lot of false signals.
How This Plays Out in Recent Tracked Data
Support and resistance concepts aren't just theory — they show up directly in how AI-generated analyses are structured on innotrade.ai's analysis tool, where entries, stop-loss placement, and staggered take-profit levels are built around these same technical zones.
Looking at the past week of tracked trades, average win rates across daily sessions sat around the high 50% range, with an average risk-reward ratio near 2.17 — a healthy sign that the underlying entries were being placed with enough room from invalidation to let winners run further than losers cost. The strongest session of the week landed on Monday, August 17, posting a 60.0% win rate and a 2.63 average RR, aided by a higher volume of setups that day. The weakest stretch came midweek on Thursday, August 13, with a 14.3% win rate and a 1.13 RR — a reminder that even well-structured technical zones don't hold every time, and risk management around them matters more on rough days than smooth ones.
One session during the week saw a very small handful of trades play out unusually cleanly, though the sample was too thin to treat as a broader signal — a good illustration of why single-day figures should always be read as supporting detail, not as the headline story.
Instruments like gold (XAUUSD) have shown consistent TP1 follow-through in recent tracked analyses, which lines up with how frequently that market respects short-term support and resistance zones before continuing a trend — a useful case study for traders learning to read these levels themselves.
Practical Takeaway
Support and resistance are foundational, but they only become genuinely useful once paired with disciplined trade management — break-even triggers, partial exits, and patience around news-driven spread widening. Traders new to these concepts can build a stronger foundation through the Trading Academy, while more experienced traders can track how their own level-based entries perform over time using Trade Tracking. For anyone wanting a transparent look at how well-structured, level-based setups have performed historically across the platform, the Live Trades Scoreboard offers a public, read-only record of top-performing analyses from the past two weeks.
Levels don't predict the future — they simply tell you where the market has cared before. What you do with that information, and how you manage the trade once it moves, is what actually separates consistent results from guesswork.
Analytical software only. We do not handle funds, make investments, or provide financial advice. Trading involves substantial risk and past performance does not guarantee future results. Always conduct your own research and consider your risk tolerance before making trading decisions.