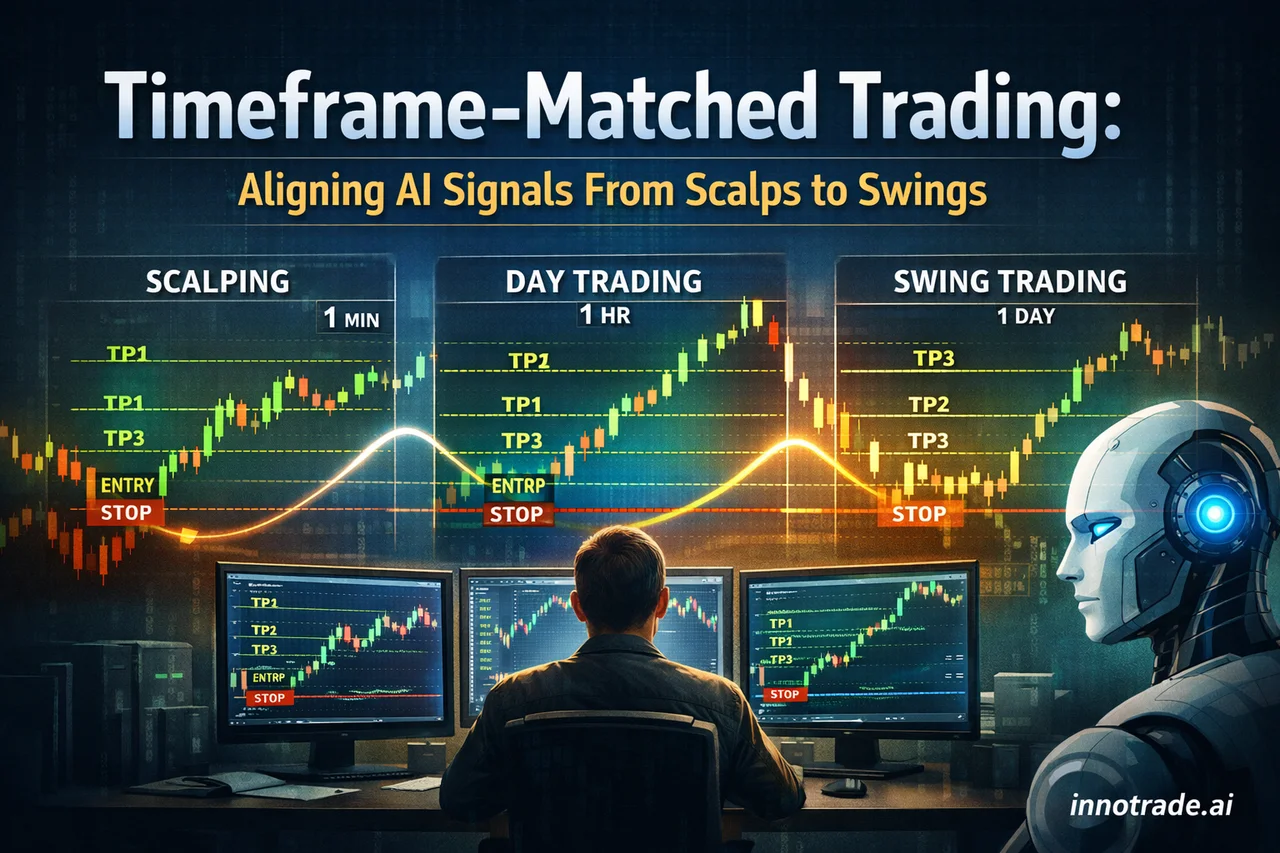
One of the most common mistakes retail traders make isn't picking the wrong signal — it's applying the wrong timeframe logic to a signal that was never meant to be traded that way. An AI-generated analysis with an entry, three take-profit levels, and a stop-loss can be used to scalp, day trade, or swing trade the same instrument — but only if you adjust your confirmation window, stop placement, and exit spacing to match the strategy. This guide breaks down exactly how to do that across all three approaches.
Why One Signal Needs Three Different Playbooks
When our AI analysis generates a trade idea for something like EURUSD or XAUUSD, it outputs a structural entry zone, TP1, TP2, TP3, and a stop-loss. That structure is timeframe-agnostic on its own — it's the trader's job to decide whether they're scalping the first leg, riding the middle, or holding for the full extension. Treating every signal the same way regardless of your holding period is a fast way to get stopped out on a swing-sized move while trying to scalp, or to exit a genuine trend-day setup far too early.
Scalping: The 1-Minute Chart and the TP1 Quick-Exit Rule
For scalpers working the 1-minute chart, the rule is simple: TP1 is your target, not a milestone. Scalping is about capturing the first clean reaction off an entry zone and getting out — chasing TP2 or TP3 on a 1-minute execution timeframe usually means holding through noise you can't control. A practical TP1 quick-exit rule looks like this: if price reaches TP1 within a tight time window (say, under 15–20 minutes of entry), take the full position off. If it stalls well before TP1, consider cutting early rather than waiting for the stop.
Session timing matters here too. During the Asian session, spreads widen and ranges compress, so a tight stop-loss placement strategy is essential — pulling your stop in closer than you would during London or New York hours helps offset the lower volatility, but only works if your entry timing is precise. This is where pairing AI entry signals with 15-minute pullback confirmation becomes useful even for scalp-oriented traders: waiting for a pullback on the 15-minute chart before dropping to the 1-minute for execution filters out a large share of false starts.
Day Trading: Spacing TP1 and TP2, Stop Behind the Order Block
Day traders have more room to work with, which changes the TP-spacing math entirely. On an EURUSD day trade, for example, you want visible separation between TP1 and TP2 — if they sit too close together, you're not really getting paid for the extra time and risk of holding past the first target. A reasonable guide is to look for TP2 sitting at least 1.5–2x the distance from entry to TP1, which usually aligns naturally with how our AI structures multi-leg targets on major pairs.
Stop-loss placement for day trades benefits from structure, not just distance. Setting your stop-loss behind the nearest order block — rather than an arbitrary pip count — anchors your risk to where the setup would actually be invalidated, not where it feels safe. If price trades back through that block, the original thesis is broken, and no amount of patience saves the trade.
Swing Trading: 4-Hour Structure, ATR-Scaled TP3, and Multi-Timeframe Confirmation
Swing trades demand a completely different risk architecture. On the 4-hour chart, the standard approach is placing your stop-loss below the most recent swing low (for longs) or above the most recent swing high (for shorts) — giving the trade enough room to breathe through normal retracement without being clipped by intraday noise. This is especially relevant on XAUUSD swing setups, where a Fibonacci extension often defines the TP3 target: the 1.272 or 1.618 extension of the prior swing frequently lines up with where our AI-suggested TP3 levels land on gold analyses.
Before entering any swing trade off an AI signal, multi-timeframe confirmation is worth the extra two minutes it takes. Check that the 4-hour entry zone isn't running directly into unresolved structure on the daily chart — a technically valid 4H setup that's fighting a daily-level resistance zone has a meaningfully lower success rate than one with a clear runway. Combining ATR multiples with AI-suggested TP3 targets is another useful sanity check: if TP3 sits at a distance wildly outside 2–3x the current ATR, it's worth treating that leg as a stretch target rather than a base-case expectation.
Tuning Reward-to-Risk by Strategy Type
Reward-to-risk tuning shouldn't be static across strategies. Scalps naturally run tighter RR — often in the 1.1–1.5 range — because the win-rate expectation is higher and the holding time is shorter. Swing trades justify wider RR targets, frequently 2.5 and above, because they tolerate more drawdown in exchange for larger structural moves. Across all tracked trades on the platform, the all-time average RR sits at 2.03 with an all-time win rate of 53.8% — a useful all-time backdrop, but not a substitute for how RR should actually flex depending on which of the three strategies you're running.
Looking at the most recent week of tracked data gives a clearer picture of how this plays out day to day. Trades averaged close to a 50% win rate with an average RR hovering around 2.06 across the week — but the daily spread tells the real story. Thursday, September 10 was the strongest session of the period by EV score, posting a 66.7% win rate and a strong average RR near 2.62, while Saturday, September 12 was the weakest, landing at a 33.3% win rate and an EV score of -0.27. That gap illustrates exactly why RR tuning and session awareness matter more than chasing a single day's result.
Adjusting for High-Impact News
Scalping around high-impact USD releases — like CPI or Core CPI prints — requires widening your stop-loss beyond the tight ranges you'd use in quiet Asian-session conditions. Spreads spike and price can wick well past normal structure in the first few minutes after a release. If you're trading through a scheduled event, either sit out the initial spike entirely or size down and give the stop meaningfully more room than usual — the goal is surviving the volatility, not predicting its exact direction.
Where Recent Data Supports This
Over the past two weeks, AUDJPY has shown consistent follow-through across TP1, TP2, and even TP3 legs relative to its stop-loss hits — a pattern that has favored day traders willing to hold past the first target. XAUUSD, by contrast, has seen a much higher proportion of stop-outs recently, a reminder that gold's volatility punishes traders who apply day-trade-style tight stops to what is structurally a swing instrument. Matching the stop-loss method to the strategy isn't a theoretical exercise — it shows up directly in the win-rate data.
The Takeaway
The same AI-generated entry, TP1/TP2/TP3 structure, and stop-loss can serve three completely different trading styles — but only if you adjust confirmation timeframe, stop placement logic, and RR expectations to match. Scalpers should lean on 15-minute confirmation and fast TP1 exits, day traders should anchor stops to order blocks and space TP1/TP2 deliberately, and swing traders should use 4-hour swing structure with ATR and Fibonacci-informed TP3 targets. For a deeper foundation on any of these concepts, the Trading Academy covers the basics in more depth, and you can track how your own strategy performs over time through Trade Tracking. For proof of how these approaches have played out historically across real tracked trades, the Live Trades Scoreboard offers a transparent, read-only view of past results.
Analytical software only. We do not handle funds, make investments, or provide financial advice. Trading involves substantial risk and past performance does not guarantee future results. Always conduct your own research and consider your risk tolerance before making trading decisions.