Why Trade Mechanics Matter More Than Entry Alone
Most retail traders obsess over finding the perfect entry. But experienced traders know that what you do after entering the trade determines whether a profitable setup actually stays profitable. Your stop-loss placement, your decision to close at TP1 or hold for TP3, your breakeven timing — these mechanics separate disciplined traders from reactive ones.
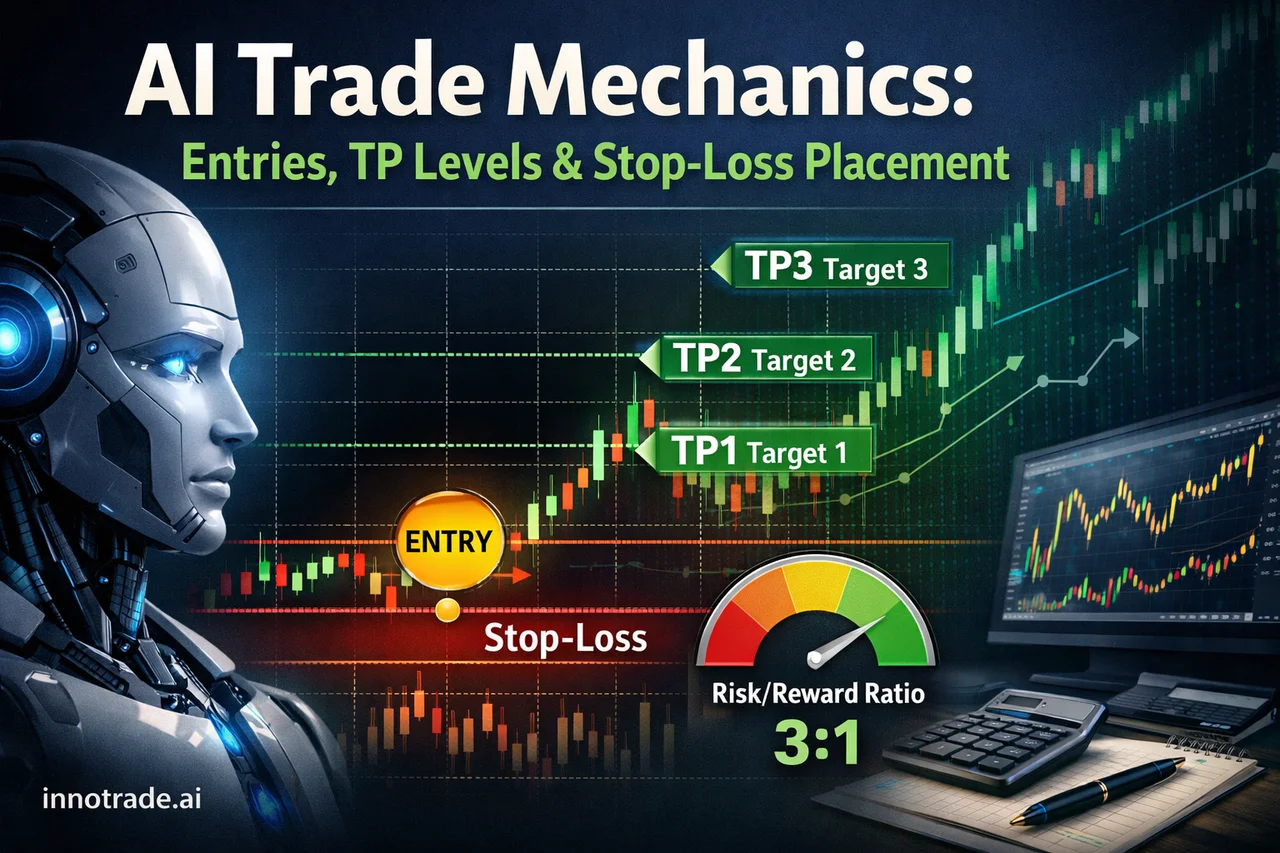
This guide breaks down a complete trade lifecycle framework for scalpers, day traders, and swing traders — all grounded in the structured signal format that AI-generated analysis delivers: a defined entry point, three tiered take-profit levels (TP1, TP2, TP3), a calculated stop-loss, and a risk-reward ratio. When you understand how to use each component, the signal stops being a suggestion and becomes a deployable plan.
Over the past week of tracked platform activity, the AI analysis system generated signals across more than 60 setups, averaging a weekly win rate above 55% with an average risk-reward ratio approaching 1.9 — figures that reflect not just entry quality but the compounding benefit of structured position management. The strongest session this period, Saturday July 4, produced an EV score of 1.19 with an average RR of 2.84, illustrating what disciplined multi-target trade management can deliver on a well-structured day.
Stop-Loss Placement: The Foundation of Every Setup
Before you think about profit targets, your stop-loss defines the entire risk profile of the trade. AI-generated analysis places stops with a specific logic: beyond the most recent point of structural invalidation — typically below a liquidity sweep level, beneath a clear order block, or past a swing low that should not be reclaimed if the thesis holds.
Scalping: Stop Below the Liquidity Sweep
For scalpers operating in tight windows — particularly during the Asian-to-London session transition — stop placement is the most critical variable. Price frequently sweeps below a prior session low before reversing, triggering retail stop orders before institutional flow pushes in the intended direction. A stop placed inside that sweep zone gets taken out before the trade works. A stop placed below it survives the manipulation and captures the move.
When using AI entries for scalp setups, look for signals generated around key session opens where the algorithm has identified a micro pullback into a defined risk level. The entry sits at the edge of that pullback; the stop sits below the swept liquidity — typically a narrow band of 5 to 15 pips on major forex pairs, or an equivalent percentage-based range on crypto assets like BTCUSD or XRPUSD.
XRPUSD and BTCUSD have both shown consistent TP1 follow-through over the past two weeks of tracked data, making them particularly well-suited for scalp setups where capturing the first profit target quickly is the primary objective. For real-time scalp signals with built-in confidence scoring, the ScalpHunter system surfaces these opportunities as they form, ranked from 1/5 to 5/5.
Day Trading: Stop Beyond the Order Block
Day traders working off the London open or New York session have more room to breathe but still need precision. Here, stop placement beyond an order block (OB) is the standard approach. An order block represents a price zone where significant institutional orders were filled — it tends to act as support or resistance on retests. If price breaks convincingly through that block, the trade premise is invalidated, and the stop should sit just beyond the far edge of the OB.
AI-generated signals already incorporate this logic. The stop-loss level in each analysis is not arbitrary — it reflects the invalidation point for that specific setup. Your job as a day trader is not to second-guess the placement but to size your position so that the distance to the stop represents your predetermined dollar risk — never more than 1-2% of your trading capital per setup.
Swing Trading: Room for Structure, Not for Sloppiness
Swing trades run over hours to days, so stops are naturally wider. But wider does not mean loose. A well-placed swing stop sits below a significant market structure point — a prior swing low on the 4-hour or daily chart — giving the trade room to breathe through intraday volatility without abandoning the thesis.
Multi-timeframe confirmation is essential here. The AI signal may originate on a lower timeframe, but before committing to a swing position, confirm that the higher timeframe structure agrees: is the daily trend aligned? Is the 4-hour showing a higher-low formation? AI analysis at innotrade.ai supports this process by providing entry context and defined risk parameters that you can validate against your own broader timeframe read.
Take-Profit Management: TP1, TP2, TP3 — Each Serves a Different Purpose
The three-tier take-profit structure is not just a set of optimistic price targets. Each level reflects a different probability threshold and demands a different position management response.
TP1: The High-Probability Exit
TP1 is the nearest target — the level the market is most likely to reach given the setup. Win rates naturally decline from TP1 to TP3, meaning TP1 will always carry the highest probability of being reached. For scalpers, TP1 is often the only target. For day traders and swing traders, hitting TP1 is the trigger for a position management decision, not the end of the trade.
The standard rule: close 30-50% of the position at TP1 and move your stop to breakeven. This locks in partial profit and eliminates the possibility of a winning trade turning into a losing one. The remaining position is now a free trade — it costs nothing if stopped out, and it captures the full upside if TP2 or TP3 is reached.
Breakeven Timing: When to Move the Stop After TP1
One of the most common mistakes in day trading is moving to breakeven too early — cutting off a trade that needed room to breathe — or too late, after a strong move reverses and wipes the gain. The cleanest rule: move to breakeven the moment TP1 is confirmed closed, not as price approaches it. If TP1 is touched but the candle closes below it, wait for a confirmed close at or beyond that level before adjusting your stop.
This discipline is especially important on days with range contraction followed by breakout — a common setup structure that shows up frequently in AI-flagged day trading entries. Wednesday, July 1 saw an EV score of 0.21 with a relatively lower win rate, a reminder that in tighter, choppier sessions, the breakeven move protects against the whipsaw that catches impatient traders who held without reducing risk.
TP2: The Quality Target
TP2 represents meaningful follow-through — the market has moved in your favour with conviction. At this level, consider closing another 30-40% of your remaining position. The residual position now runs toward TP3, and your stop can be trailed to just below TP1 to lock in a portion of the TP1-to-TP2 gain.
For swing traders, the trail from TP2 is particularly valuable. Rather than a fixed stop, consider trailing based on structure: as the market makes new highs in an uptrend, trail the stop below each subsequent higher low. This lets momentum do the work without demanding a precise exit call.
TP3: The Extended Target — Real but Selective
TP3 is the aspirational level. Its probability is lower than TP1 or TP2 by design — that's how the tiered structure works. Over the past two weeks of XAUUSD tracked data (the most actively analysed instrument in the platform's recent history, with a high volume of setups), TP3 completions were notably less frequent than TP1 hits, consistent with the expected probability decay across the target ladder.
This is not a flaw — it's information. TP3 should be treated as a bonus, not a baseline. The position management approach described above — partial close at TP1, partial close at TP2, trailing stop on the remainder — is specifically designed to ensure that missing TP3 does not invalidate a profitable trade. You've already locked in gains at the first two levels.
For swing traders specifically, holding the residual position for TP3 makes most sense when: (1) the broader trend is strongly aligned, (2) no significant resistance cluster sits between TP2 and TP3, and (3) the remaining risk (your trailed stop) represents a fraction of your original risk exposure.
Transitioning Between Strategies: When Scalps Become Day Trades
One nuanced scenario that AI-assisted traders encounter is when a scalp setup develops into something more. The Asian session micro pullback you entered for a quick TP1 capture starts running — London opens with momentum, and suddenly TP2 is in reach. Do you hold?
The answer depends on your breakeven execution. If your stop is already at breakeven, the decision to hold is structurally sound. You're not adding new risk — you're allowing an already-protected position to extend. If your stop is not at breakeven yet, holding into London is speculation, not strategy.
This is where the structured signal format pays dividends. Because innotrade.ai provides explicit TP1, TP2, and TP3 levels for every analysis, you always know exactly where the extended targets are before the trade begins. You're not improvising price targets mid-trade — you're executing a plan that was defined at entry. For a deeper dive into how the platform's analysis tools support this kind of structured approach, the Features page covers the full analytical framework.
Practical Position Management Rules by Strategy
- Scalping: Enter at AI-defined micro pullback level. Stop below liquidity sweep. Target TP1 only. Close full position at TP1. Do not hold through session transitions unless stop is at breakeven and TP2 is immediately adjacent.
- Day Trading: Enter on breakout confirmation with AI-validated entry. Stop beyond order block. Close 40% at TP1, move stop to breakeven. Close 40% at TP2, trail stop below TP1. Let final 20% run to TP3 or trail to close.
- Swing Trading: Enter after multi-timeframe confirmation. Stop below swing structure low. Close 30% at TP1, move stop to breakeven. Close 30% at TP2, trail below prior higher low. Hold final 40% for TP3 with structure-based trailing stop.
These rules are starting frameworks, not rigid laws. Your risk tolerance and the specific setup context will determine exact percentages — but the logic of scaling out and eliminating risk progressively applies across all three styles.
Tracking Your Execution, Not Just Your Entries
The final piece of this framework is accountability. An AI-generated entry signal is only as valuable as the execution that follows it. If you're consistently entering at the right price but failing to capture TP2 or TP3 due to premature exits — or losing more than necessary because your stops are too tight — you need visibility into that pattern.
The Trade Tracking dashboard gives every user a personal performance breakdown: win rates by strategy, average RR achieved versus target, TP-level hit rates across your own analyses, and historical performance graphs. This is where the gap between signal quality and execution quality becomes visible — and fixable.
If you're new to structured AI-assisted trading and want to build the foundational knowledge to complement these mechanics, the Trading Academy covers risk management principles, market basics, and practical trade concepts designed specifically for retail traders at every level.
The Takeaway
A strong AI signal with poor position management produces mediocre results. A structured AI signal combined with disciplined stop placement, tiered profit-taking, and breakeven management produces the kind of consistent positive expected value that the platform's tracked data demonstrates week after week. The mechanics covered in this guide — stop beyond liquidity, partial close at TP1, breakeven move, trailing from TP2, selective TP3 holds — are not advanced concepts. They are the baseline habits of traders who let their edge compound over time.
Start your first structured trade with a 7-day free trial and apply these mechanics from day one.
Analytical software only. We do not handle funds, make investments, or provide financial advice. Trading involves substantial risk and past performance does not guarantee future results. Always conduct your own research and consider your risk tolerance before making trading decisions.